

Running a WordPress website with multiple team members can feel like herding cats sometimes, right? Everyone’s got different responsibilities, and keeping everyone on the same page can be a real challenge. That’s where role-based notes come into play—they’re like having a personal assistant who knows exactly what each team member needs to see.
Imagine this: your content writers see reminders about editorial guidelines, your admins get alerts about security updates, and your shop managers see inventory notifications. No more cluttered dashboards with irrelevant information! In this guide, I’ll walk you through exactly how to set up role-based notes that’ll make your WordPress dashboard work smarter, not harder.
Why Role-Based Notes Are a Game-Changer
Let’s be honest—information overload is real. When you log into your WordPress dashboard, you want to see what matters to you, not a laundry list of tasks meant for someone else. That’s the beauty of role-based notes.
Think about it like this: if you’re a content editor, you don’t need to see server maintenance reminders. If you’re the site admin, you probably don’t care about the latest blog post brainstorming session. Role-based notes ensure everyone sees exactly what they need to see—nothing more, nothing less.
The Real-World Benefits
- Reduced cognitive load: Your team members aren’t wading through irrelevant information
- Increased productivity: People can focus on what actually matters to their role
- Better accountability: When notes are targeted, there’s no “I didn’t see it” excuse
- Cleaner dashboards: Less clutter means better user experience
- Improved communication: Messages land with the right people at the right time

Understanding WordPress User Roles First
Before we dive into creating role-based notes, let’s quickly review WordPress user roles. If you’re already familiar with this, feel free to skip ahead—but trust me, understanding these roles is crucial for setting up effective note targeting.
WordPress comes with several default roles:
Administrator: The big boss—full access to everything
Editor: Manages all posts and pages (theirs and others’)
Author: Creates and publishes their own content
Contributor: Writes posts but can’t publish them
Subscriber: Basic access, mainly for commenting and profile management
You might also have custom roles if you’re using plugins like WooCommerce (Shop Manager) or membership plugins. The key is knowing who needs to see what.
Setting Up Role-Based Notes: The Smart Way
Now here’s where things get interesting. While you could manually track who needs to see what, that’s about as fun as watching paint dry. Instead, let me introduce you to a better solution: Dashboard Quick Notes.
This plugin is like having a Swiss Army knife for your WordPress dashboard communications. It’s specifically designed to handle role-based notes with ease, and honestly? It’s saved me countless hours of dashboard management headaches.
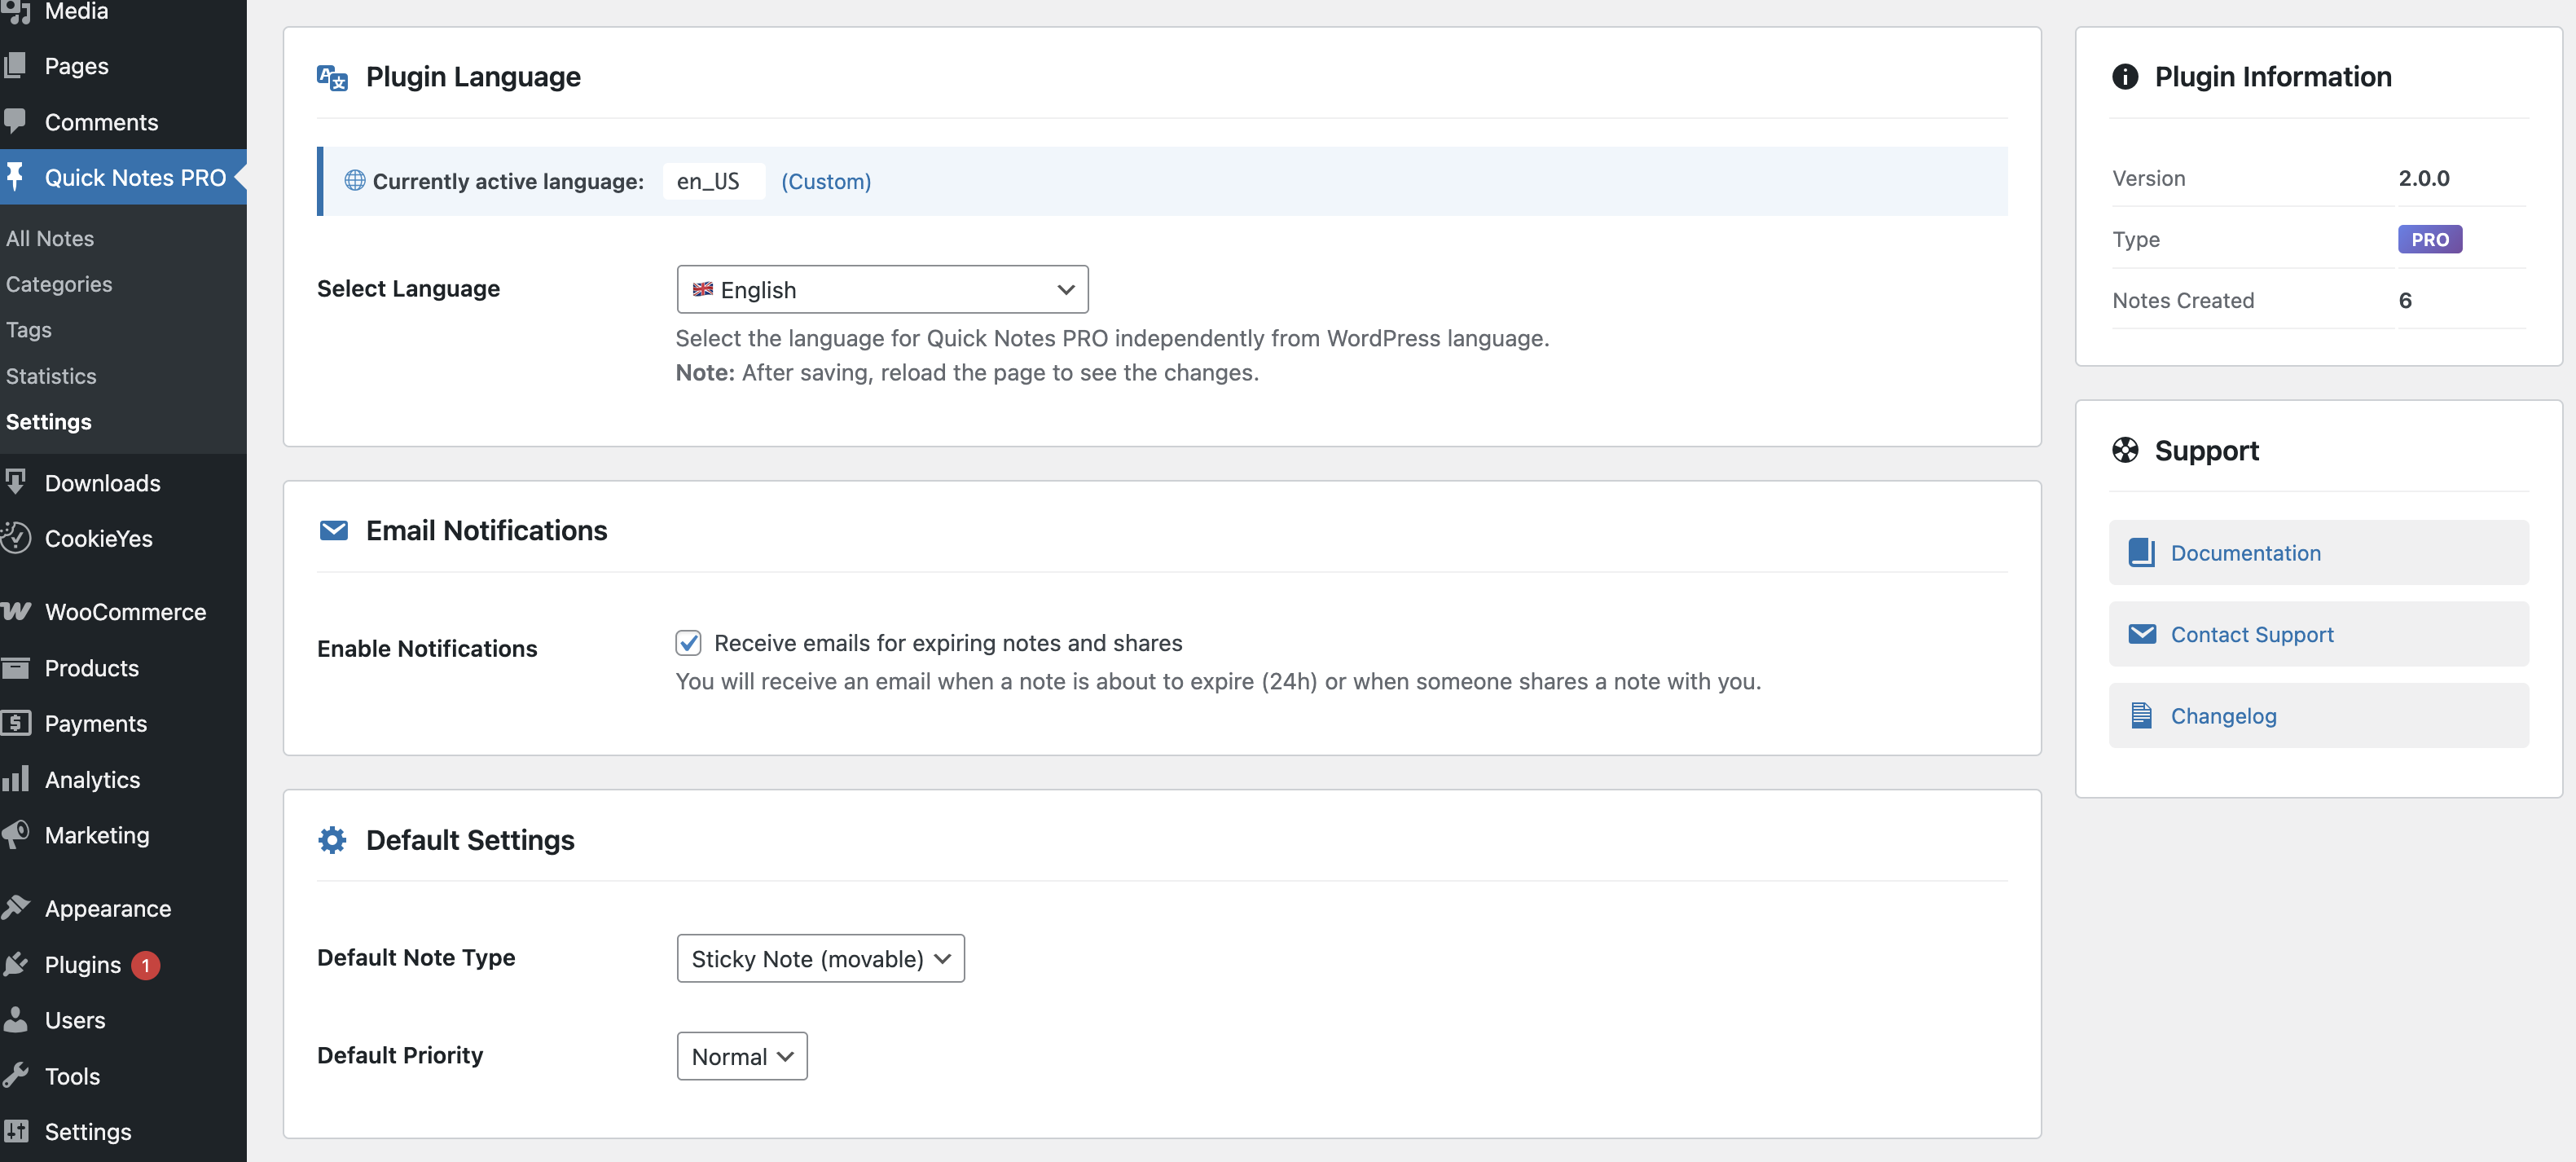
Step 1: Install and Activate the Plugin
First things first—you need to get the tool in place. Head over to XpertPlugins.com and grab Dashboard Quick Notes. The installation is straightforward:
- Download the plugin from the XpertPlugins website
- Go to your WordPress dashboard → Plugins → Add New → Upload Plugin
- Upload the zip file and click “Install Now”
- Hit “Activate” and you’re good to go
Pro tip: The whole process takes less than 2 minutes. I’ve timed it!
Step 2: Create Your First Role-Based Note
Once activated, you’ll see a new “Quick Notes” option in your WordPress dashboard. Click it, and let’s create your first targeted note. Here’s what makes Dashboard Quick Notes so powerful:
🎯 You can target specific user roles with pinpoint accuracy. Want only administrators to see a security update? Done. Need to remind editors about the editorial calendar? Easy peasy.
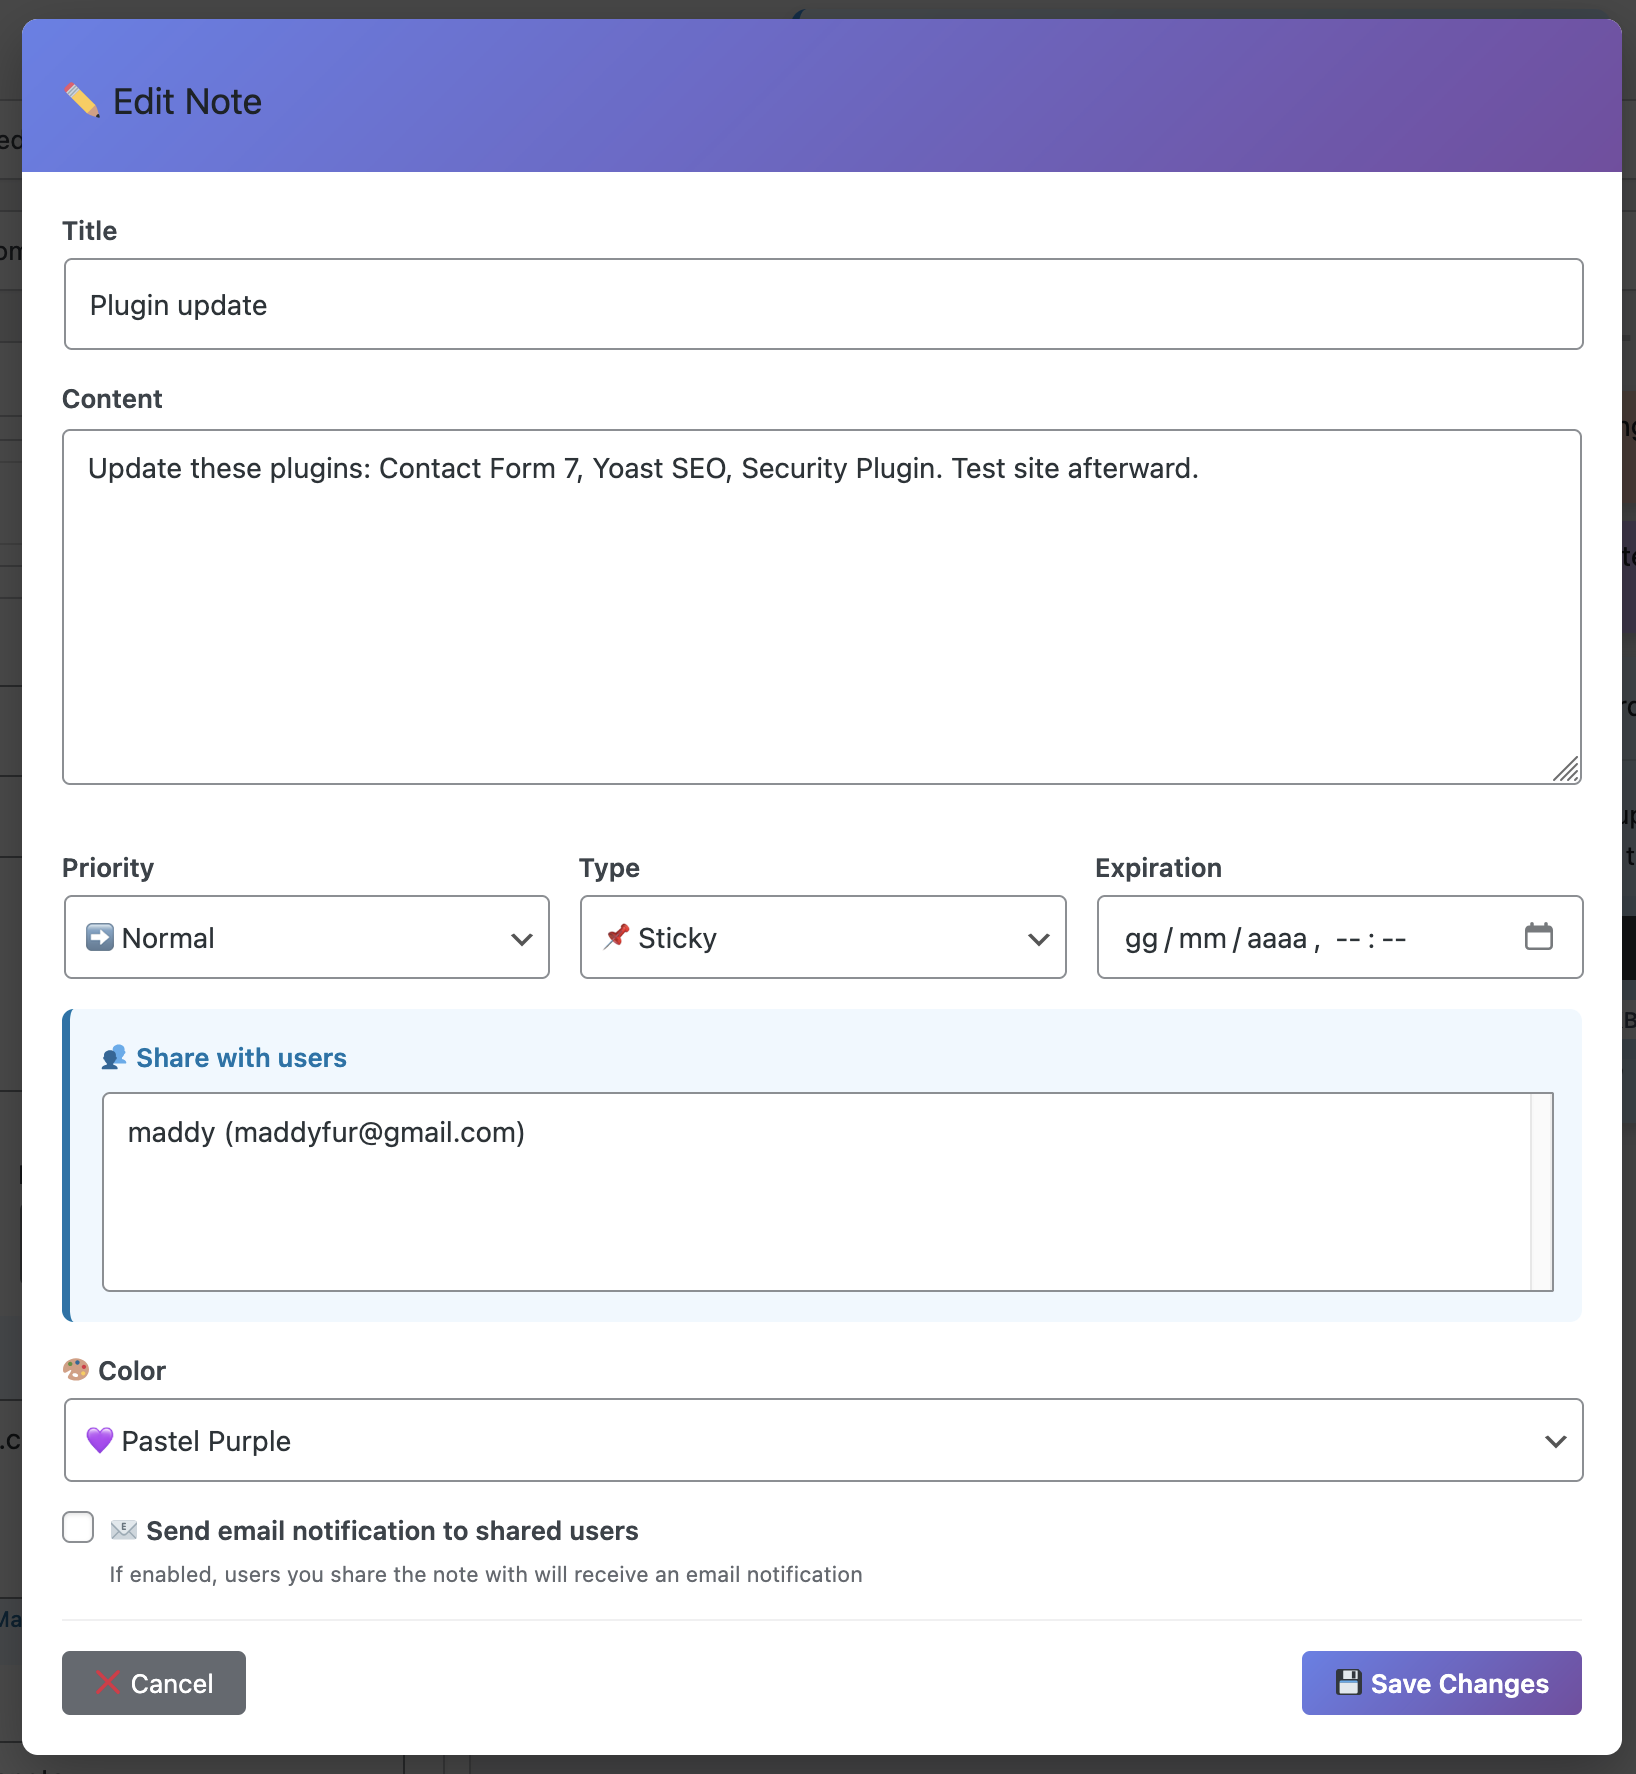
Here’s how to do it:
- Click on “Quick Notes” in your dashboard menu
- Hit the “Add New Note” button
- Write your message (more on crafting effective notes in a sec)
- Look for the Role Visibility section
- Select which user roles should see this note
- Save and watch the magic happen
Step 3: Craft Notes That Actually Get Read
Okay, so you’ve got the technical setup down. But here’s the thing: having the ability to create role-based notes means nothing if people don’t read them. Let me share some battle-tested tips for writing notes that people actually pay attention to:
Be Clear and Concise
Nobody wants to read a novel on their dashboard. Get to the point quickly. Instead of “Just wanted to let you know that we might need to update some things related to the editorial calendar,” try “Editorial Calendar Update: New deadlines start Monday.”
Use Action-Oriented Language
Tell people what they need to do. “Review the new SEO guidelines” is better than “There are new SEO guidelines available.”
Add Visual Hierarchy
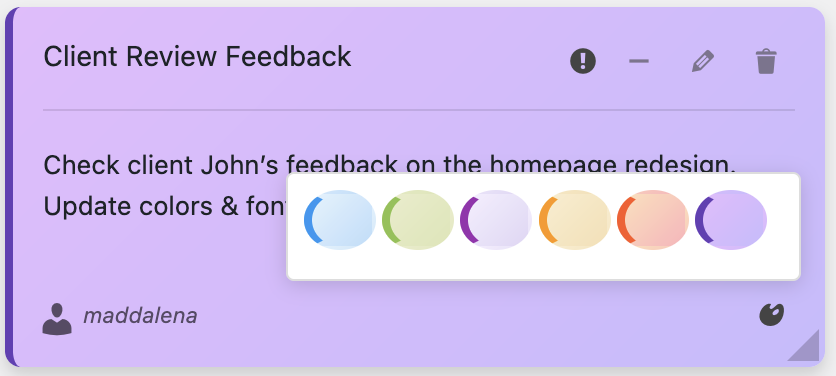
Dashboard Quick Notes lets you customize colors and fonts. Use this! Make important notes stand out with bold colors. Use different colors for different types of messages (red for urgent, blue for informational, green for positive updates).
Advanced Role-Based Note Strategies
Once you’ve got the basics down, let’s level up your role-based notes game. These strategies will take you from “that’s helpful” to “wow, this is indispensable.”
Create Role-Specific Workflows
Think about the typical workflows for each role on your team. Map out what information each role needs at different stages, then create notes accordingly.
For example, when launching a new product:
- Admins get technical setup reminders
- Shop Managers see inventory prep notes
- Editors get content creation deadlines
- Authors receive style guide reminders
Use Time-Sensitive Notes Wisely
Not all notes need to live forever. Dashboard Quick Notes allows you to set visibility periods. Use this feature! Nothing clutters a dashboard faster than outdated information.
Set your notes to automatically disappear after:
- A deadline passes
- An event occurs
- A specific date is reached
- The information becomes irrelevant

Combine Roles for Maximum Impact
Sometimes a note needs to reach multiple roles. Maybe you’re announcing a team meeting—both editors and authors need to know. Dashboard Quick Notes makes this effortless by letting you select multiple roles for a single note.
💡 Smart Tip: Create a note hierarchy. High-priority notes for specific roles, medium-priority for role combinations, and general announcements for everyone. This prevents important role-specific information from getting lost in the noise.
Common Mistakes to Avoid
I’ve seen plenty of well-intentioned dashboard note systems crash and burn. Let me save you from these common pitfalls:
❌ Over-noting: Just because you can create role-based notes doesn’t mean you should create a million of them. Quality over quantity always wins.
❌ Being too vague: “Important update” tells nobody nothing. Be specific about what, when, and why.
❌ Forgetting to clean up: Old notes are worse than no notes. They create confusion and make your system lose credibility.
❌ Wrong role targeting: Double-check your role selections. Nothing’s more frustrating than missing important information because it was sent to the wrong people.
Real-World Use Cases
Let me paint you some real scenarios where role-based notes shine:
Scenario 1: The Multi-Author Blog
You run a popular blog with 15 authors. Editors see notes about upcoming content themes and deadlines. Authors get reminders about style guidelines and submission windows. Administrators see technical maintenance schedules. Everyone stays in their lane, and nobody’s overwhelmed.
Scenario 2: The E-commerce Store
Shop Managers receive inventory alerts and shipping updates. Content editors see product description deadlines. Customers (subscribers) don’t see any of this backend stuff—their dashboard stays clean.
Scenario 3: The Membership Site
Different membership tiers have different privileges. Premium members see exclusive content notifications, basic members see general updates, and moderators see community management tasks.
Taking It to the Next Level
Once you’re comfortable with basic role-based notes, Dashboard Quick Notes offers even more powerful features:
- Drag-and-drop functionality to rearrange note priority
- Custom color schemes that match your brand
- Note archiving to keep your dashboard clean without losing history
- Export options for documentation and record-keeping
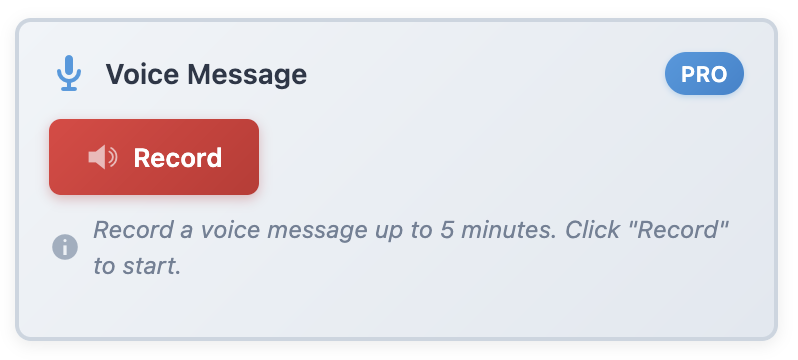
- Voice recording capabilities for quick message delivery
Wrapping It Up
Look, managing a WordPress site with multiple users doesn’t have to feel like juggling flaming swords. Role-based notes are your secret weapon for keeping everyone informed, focused, and productive.
By using a tool like Dashboard Quick Notes, you’re not just adding sticky notes to your dashboard—you’re creating a streamlined communication system that respects everyone’s time and attention.
The right information, to the right people, at the right time. That’s the power of role-based notes.
Ready to transform your WordPress dashboard communication? Head over to XpertPlugins.com and grab Dashboard Quick Notes today. Your team will thank you, and your dashboard will never be the same—in the best way possible.
Start Creating Smarter Dashboard Notes Today!
Join thousands of WordPress users who’ve already transformed their dashboard communication.
P.S. – Trust me on this one. I’ve tried managing multi-user WordPress sites without proper role-based communication, and it’s chaos. Do yourself a favor and set this up now. Your future self will send you a thank-you note… probably through Dashboard Quick Notes! 😉